
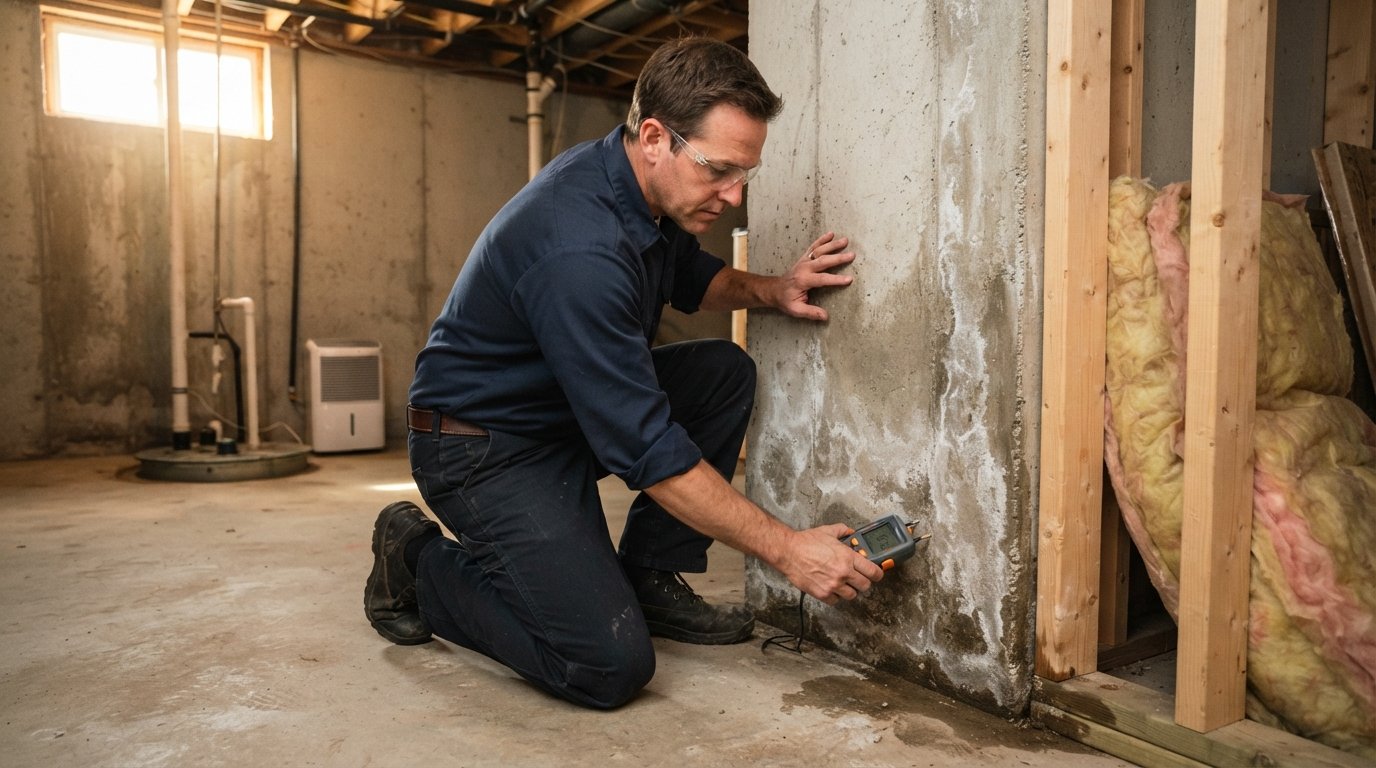
Basement Waterproofing and Moisture Fixes Before Finishing
Solve basement waterproofing and moisture fixes before finishing to prevent mold, rot, and costly tear-outs. A dry basement protects your entire remodel investment.

By Cameron Howard
Learn more about Home Waterproofing for guides, costs, and what to expect.
Compare Home Waterproofing Pros Near You

Enter your ZIP code to compare top-rated local professionals and request free quotes.
You have big plans for that lower level: a home theater, a guest suite, maybe a rental unit that finally pays you back. Then you notice the faint musty smell near the baseboards, or a chalky white stain creeping across the concrete. Finishing a basement without solving moisture first is the single most expensive mistake a homeowner can make. Framing, drywall, insulation, and flooring are all organic or moisture-sensitive materials. Trap them against a damp foundation and you are essentially building a compost pile behind your new walls. The good news is that most moisture problems are diagnosable and fixable, and addressing them before construction starts typically costs a fraction of what remediation after the fact would run.
This guide walks through how water actually gets into a basement, how to test for hidden moisture, which fixes deliver the best return, and how to sequence waterproofing with your finishing budget. Along the way, we will flag the points where a qualified local contractor saves you money rather than costs you money.
Why Waterproofing Must Come Before Framing, Not After
Water always wins the long game. A basement wall that seeps a teaspoon per hour during spring thaw does not look like an emergency. Multiply that by a full rainy season, and you have gallons of water wicking into wood studs, paper-faced drywall, and fiberglass insulation. Within two or three years you are looking at rot, mold colonization, and a warranty claim that no builder will honor because the moisture source was pre-existing.
There is also a structural argument. Hydrostatic pressure, the force exerted by saturated soil pushing against your foundation, is relentless. It does not just push water through pores in concrete; it widens existing hairline cracks and can bow block walls over time. If you finish the space first and the wall moves later, you are demolishing your own renovation to install an interior drainage system. Doing the waterproofing first means every dollar you spend on finishing sits on a dry, stable substrate.
Finally, consider resale and inspection. A finished basement is a major value driver, but only if it is dry. Home inspectors flag efflorescence, musty odors, and poorly sealed penetrations immediately, and buyers negotiate hard when they see them. A documented waterproofing scope with receipts is a selling point. A freshly painted wall over a damp patch is a liability.
How to Diagnose Where Moisture Is Coming From
Before you buy a single tube of sealant, identify the source. Basement moisture falls into a few broad categories, and each demands a different fix. Misdiagnosis is the most common reason homeowners spend money on solutions that do not work.
Start with a simple visual and smell inspection after a heavy rain. Look for dark patches on the floor slab, white powdery deposits (efflorescence) on masonry, rust streaks on nails or appliances, and condensation on cold water pipes. A musty odor that intensifies in summer usually points to high humidity rather than liquid intrusion, which changes your strategy entirely.
Next, run a few low-cost tests to confirm what you are dealing with:
- Tape test: Tape a square of aluminum foil to a concrete wall and leave it for 24 hours. Moisture on the outside of the foil means humid air is condensing on a cold surface. Moisture behind the foil, against the concrete, means water is moving through the wall itself.
- Gutter and grade check: Walk the exterior during a rainstorm. If downspouts discharge within three feet of the foundation or the soil slopes toward the house, you have found a likely culprit before touching the interior.
- Hygrometer reading: A $20 hygrometer will tell you whether indoor relative humidity is above 60 percent, the threshold where mold and musty odors thrive.
- Crack mapping: Note the location and direction of every crack. Vertical cracks are often shrinkage-related and manageable. Horizontal cracks or stair-step cracks in block walls can signal pressure or settlement and warrant a professional evaluation.
Once you know whether the problem is bulk water, capillary seepage, or airborne humidity, you can match the fix to the cause. Bulk water from poor grading is cheap to solve. Capillary seepage through the wall calls for drainage or sealants. Humidity calls for ventilation and dehumidification, not necessarily excavation.
The Core Waterproofing and Moisture Fixes That Pay Off
There is a rough hierarchy of fixes, from least invasive and least expensive to most involved. Work through them in order, and stop when the moisture readings stay dry through a full wet season. Skipping steps to save money usually means paying twice.
Exterior grading and drainage is the first and most cost-effective line of defense. Soil should slope away from the foundation at roughly a six-inch drop over the first ten feet. Extend downspouts at least six to ten feet from the wall, ideally into a splash block or buried drain line. Clean gutters twice a year. These steps alone resolve a surprising share of damp basement complaints, and they cost mostly sweat equity.
Crack injection and sealing handles the non-structural cracks that remain. Polyurethane injection fills the crack from the inside and remains flexible, accommodating minor movement. Hydraulic cement patches work for active leaks but are brittle and best treated as temporary. For block walls, tuckpointing deteriorated mortar joints restores the barrier. Expect to pay a few hundred dollars per crack for professional injection, or a modest DIY kit price for small, stable cracks.
Interior drainage systems, sometimes called French drains or weeping tile systems, capture water at the base of the wall and route it to a sump pit. A sump pump then discharges it away from the house. This is the workhorse solution for basements with chronic seepage, and it is far less disruptive than exterior excavation. A quality system with a primary and battery-backup pump typically runs a few thousand dollars installed, and it protects the entire perimeter rather than a single crack.
Exterior waterproofing membrane is the gold standard, but it requires excavating down to the footing. It makes the most sense during new construction or when you are already digging for a foundation repair. Applying a rubberized membrane and dimple board to the exterior wall, combined with proper footing drains, essentially creates a dry barrier for decades.
Vapor barriers and dehumidification address the moisture that arrives as humid air. A heavy-gauge polyethylene vapor barrier under a concrete slab or over a crawlspace floor slows vapor transmission. A correctly sized dehumidifier, plumbed to drain continuously, keeps relative humidity in the 40 to 50 percent range. Together, these make the space comfortable and protect stored items.
When you are ready to compare quotes for drainage, sump pumps, or foundation work, BuySellRemodel can help you find local pros and request free estimates so you can weigh options side by side. Getting two or three bids on a waterproofing scope is the single best way to avoid overpaying, because the range of quotes for identical work can be surprisingly wide.
Sequencing Your Project: Waterproofing Meets Finishing Budget
The order of operations matters as much as the individual fixes. Build in the wrong sequence and you will either redo work or leave a gap that lets moisture back in. A sensible progression looks like this.
- Diagnose and document. Photograph cracks, record humidity readings, and note exterior drainage issues. This becomes your scope of work and your baseline for verifying the fix.
- Resolve bulk water first. Fix grading, gutters, and downspouts. These are cheap and can eliminate the problem before you spend on interior systems.
- Install drainage and sump. If seepage persists, install interior drainage and a sump pump with backup. Test through at least one heavy rain.
- Seal cracks and apply vapor barriers. Inject remaining cracks, seal penetrations, and lay vapor barrier where applicable.
- Verify dry, then frame. Only after a full wet season or repeated moisture testing confirms dryness should you install framing, insulation, and drywall.
- Add climate control. Size a dehumidifier and consider a small exhaust or HRV system to manage humidity year-round.
Budget-wise, waterproofing typically consumes a modest slice of a total finishing budget, often in the range of 10 to 20 percent depending on severity. It is tempting to cut this line item to afford nicer flooring or a bigger wet bar. Resist that impulse. The finishing materials are the visible reward; the waterproofing is the insurance policy that keeps them visible and intact. Homeowners who skip it frequently spend two to three times the waterproofing cost on mold remediation and tear-out within a few years.
If you are still shaping the overall scope and budget, our guide to 2026 basement finishing costs and design ideas breaks down material and labor ranges so you can slot waterproofing into a realistic number rather than a guess.
Common Mistakes That Undo Good Waterproofing
Even homeowners who invest in the right systems sometimes sabotage them with finishing choices. The most frequent error is using paper-faced drywall directly against a concrete wall. Even with a vapor barrier, that assembly traps moisture and feeds mold. Use mold-resistant board, and better yet, keep an air gap between the concrete and any framing using rigid foam insulation or a dimple membrane.
Another mistake is sealing the sump pit lid too tightly without a proper discharge path, or discharging the pump into a location that simply returns water to the foundation. The discharge line should carry water well away from the house and downhill if possible. During winter, make sure the line does not freeze and back up.
Finally, do not treat dehumidification as optional. A dry wall after a rainstorm does not mean the air is dry. Humid air condenses on cool surfaces, feeds mold in corners and closets, and makes the space feel clammy. A continuously draining dehumidifier set to 45 percent relative humidity is one of the cheapest forms of long-term protection you can buy. Pair it with a hygrometer so you can verify it is working rather than guessing.
When to Bring In a Professional
Some fixes are squarely in DIY territory: extending downspouts, regrading soil, sealing small stable cracks, and running a dehumidifier. Others deserve a pro. Horizontal or stair-step cracks, bowing walls, active leaks that persist after drainage work, and any situation involving a sump pump installation with electrical work should be handled by licensed contractors. Foundation and structural issues especially warrant an engineer's eye, because a cosmetic fix over a structural problem is money wasted.
Hiring well matters as much as hiring at all. Get at least three written estimates with itemized scopes, ask for references from jobs completed at least two years ago, verify licensing and insurance, and insist on a written warranty covering both materials and labor. A contractor who hesitates on any of these is a risk you do not need. For a deeper walkthrough of vetting and comparing bids, our resources on choosing local pros can help you avoid the common traps.
Waterproofing and moisture control are not glamorous line items. They do not show up in the finished photos. But they are the difference between a basement that stays beautiful for decades and one that quietly rots behind the drywall. Handle the water first, verify the fix, then build with confidence. If you would rather hand the diagnosis and repair to experienced local contractors, request a free estimate and compare options before you commit. The few hours you spend getting quotes now can save you thousands and a lot of heartache later.